Applying Stain
How to apply Yardistry Stain to your Yardistry wooden products.
Stain Preparation
Use the right brush. Use a natural-bristle brush for oil stains and a synthetic-bristle brush for latex stains. Mix the stain thoroughly before you begin and frequently while you’re staining. This helps keep the color consistent throughout the project. Before proceeding, apply the stain on a discreet area of wood to test the color.
Note that many outdoor stains are meant to be added when your local temperature is within a certain range, so carefully check for the recommendation listed on the packaging of the product you plan to use.
Also, for optimal curing, make sure that your stain will be able to dry completely. That means watching the weather forecast and if necessary, interrupting the regular operation of your lawn irrigation system.
Stain Application
Apply stain only at the proper temperature. For most stains, 70 degrees Fahrenheit (21.1 Celsius) is the optimum, with the safety range from 50 to 90 degrees Fahrenheit (10 to 32.2 Celsius). Stains do vary, so check the label first. This also applies to the surfaces you’re staining.
Avoid high humidity and staining on hot surfaces. All finishes, including stains and paint, have trouble drying in moist conditions. Therefore, after a rain storm, let the surface to be stained dry for two to three days. Start staining on a side of your house not in direct sunlight. Both precautions help ensure the best stain penetration and the most predictable drying patterns.
Apply stain by brushing or wiping it in the direction of the grain, using smooth, even strokes. Wipe off any excess. Follow the pattern, left to right, top to bottom. The best way to stain lapped siding is from left to right, and from top to bottom. That way you’ll always be working above the top of the ladder.
Avoid unattractive lap marks by applying stain from an unstained area back into the last wet stain. In other words, don’t let a section of stain dry before you blend it in with stain from an adjoining section.
Let stain dry completely (usually 24 hours). Then, apply a second coat if you want a darker look. Also, apply a second coat when staining badly weathered or unfinished wood.
Step 1
If applicable, remove all peripherals and extras from the outdoor wood piece you are staining.Tape over any unremovable parts of the wood piece that you do not wish to stain, such as metal bolt heads.
Step 2
For best results, the wood you are staining should be free of dirt and mildew. Apply a deck wash with a pump sprayer to clean the surface. Scrub any spots that are especially dirty, rinsing them with water as you go. Allow at least 24 hours for the wood to dry completely.
Step 3
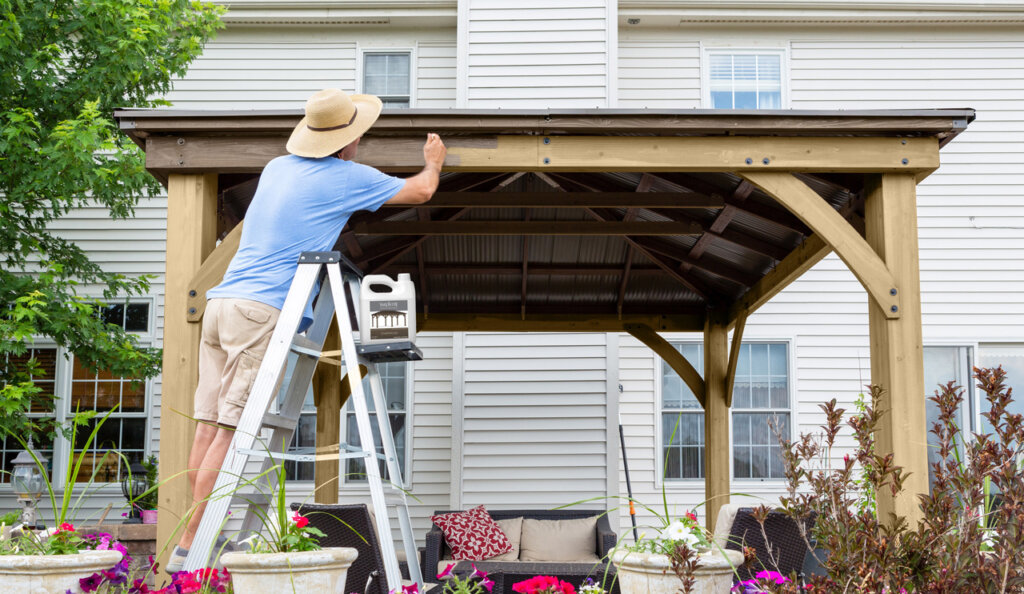
Beginning at the highest point, brush on your stain in the direction of the wood grain. Because stain is thinner than paint, it’s a good idea to keep a bucket of water and a clean rag handy; that way, you can easily address accidental drips. Add a second coat (once the first has dried) for a smoother finished look.
Stain Maintenance
- Clean wood on a regular basis to remove all dirt, pollen or soot. Wash the surface gently to avoid damaging the stain.
- Keep wood free of leaves and other debris, including between boards.
- Check for mold and mildew every few months. Use a mold and mildew remover that twists onto the end of a garden hose for easy application.
Applying Yardstry wood stain is an easy way to freshen the look of your outdoor product.